Logbook Tutorials
Bind-It-All Bookmaking Tutorial
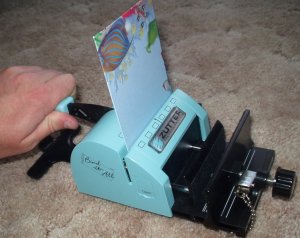
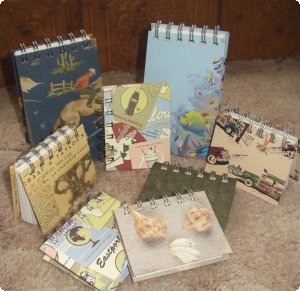
Zutter has a great product for binding logbooks of many shapes and sizes called the Bind-It-All. It punches holes in paper, as you might expect, as well as materials such as CDs, credit cards, and more. Then you can push a wire binding through the holes, clamp down tight and finish with some very professional-looking logbooks others would swear you must have purchased in a store. This tutorial was created with the original 1.0 version of the Bind-It-All, but they've since introduced a version 2.0, but the changes between the two are relatively minor and you shouldn't have trouble following this tutorial regardless of which version you have.
The good: It's one of the fastest methods available for binding logbooks, especially for logbooks with a lot of pages. So easy a caveman could do it (so I'm told). The logbooks will also lay completely flat.
The bad: You need to invest in the Bind-it-All created by Zutter or find a friend who has one. They cost about $60, but it comes with a lifetime warranty so there's no reason you shouldn't get years of productive use out of it. Fortunately, it's a one-time only expense.
Most supplies for this project are easily found at your local arts and crafts store or online. The Bind-it-All and Owire bindings, if you can't find them locally, can be ordered online at Amazon.com.
In this tutorial, we will create a logbook with pages made from 3x5 index cards, but feel free to use other sizes or materials for your pages to fit your needs.
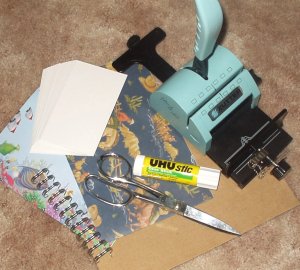
- Index cards (blank, 3" x 5")
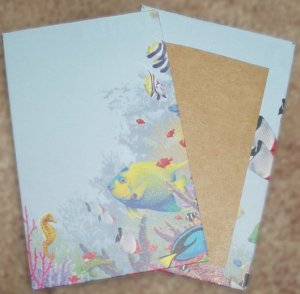
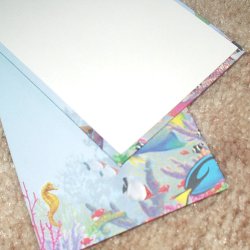
- Choice of paper for cover
- Bind-It-All
- Owire Binding
- Cardboard (cereal boxes work great)
- Scissors
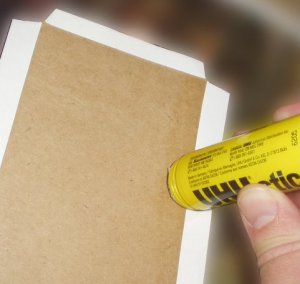
- Glue Stick