Skip to Content
Register · Login
About Theme

A Letterboxing Community

Atlas Quest
  1. 0. Carving Menu
  2. 1. Materials
  3. 2. Finding Images
  4. 3. Transfer Image
  5. 4. Carving the Stamp
  6. 5. Mounting
  7. 6. Samples

Stamp Carving 101

Transfer: No. 2 Pencil Method

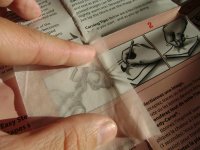
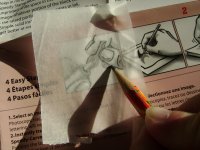
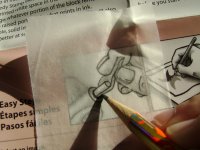
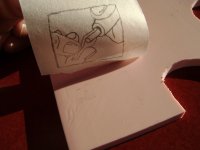
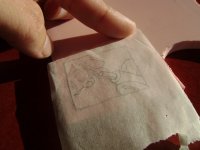
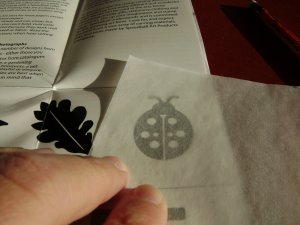
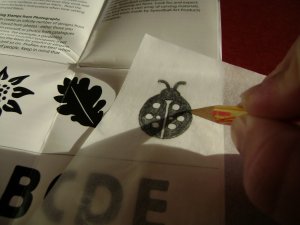
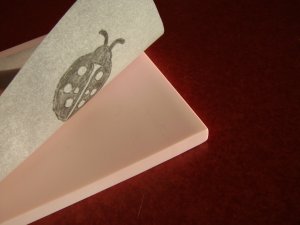
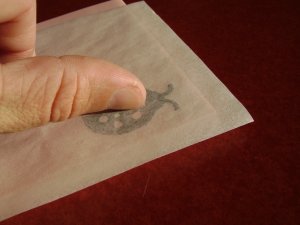
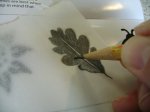
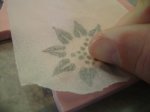
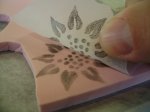
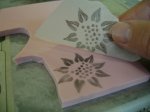
It’s time to transfer the image to your carving block. Here we’ll describe one of the oldest, cleanest and most reliable methods available: the No. 2 Pencil. You’ll also need tracing paper if you want to preserve the original image. If your image is online or on your computer where you can print out additional copies if you make a mistake with your first one, you won’t even need the tracing paper. Just print the image you want to use!

Transferring an image
1. Prepare your image
Get your selected image ready by putting it on a hard surface and sharpen your #2 pencil. For this tutorial, I’ll be carving a ladybug from the carving instructions that came with the Speedball Speedy Carve Stamp Making Kit.
Select your image
2. Lay your tracing paper over the image
Since I don’t want to destroy the original image, I’ll be using tracing paper. If you printed an image from your computer, though, this step is optional—you can trace the image directly on your printout, and if you make a mistake, just print out another image.
However, that said, I still prefer using tracing paper even with printouts since I can better see if I’ve missed a line somewhere.

Some people like to use a small bit of tape to keep the tracing paper in place over their image, but I prefer just holding it in place.
Lay tracing paper over your image
3. Trace your image
And start tracing! Fill in any dark areas of the image. I usually trace the outline of the image first, then go back and fill in the dark areas as if it were a coloring book. Sharpen your pencil as often as necessary for clear, sharp lines along the edges, but a blunt pencil will fill in larger dark areas quicker and create thicker lines if that’s what you need.
Trace your image
4. Add embellishments (optional)
Now you have a tracing identical to the image you want to carve. At this point, you can return to step 1 and add additional embellishments to your carving as necessary. In our case, for instance, we could put the ladybug on a flower, or add the name of the letterbox or location of the letterbox to the carving. We won’t add anything extra to the image here, but now is the time to do so if it’s necessary.
Your image, traced and duplicated
5. Lay tracing, facedown, on your carving block
Set your tracing facedown on your carving block. Leave about one-quarter inch of carving block around your image. It’s important that the tracing paper does not wiggle around on the carving block to insure clear, sharp transfers. If holding the tracing paper in place is hard or distracting, tape it down.
Set tracing, facedown, on your carving block
6. Transfer image
The moment of truth—transfer your image to the carving block by rubbing your fingernail or other blunt object over the back of your design. Again, be careful the tracing paper does not wiggle to ensure a clear, sharp transfer of your image!
Transfer image
7. Check transfer
Pick up one edge of your tracing paper to look at the transferred image. If you missed any spot or it came out too light in some areas, carefully replace the tracing paper and rub the back of your design again until the image is fully transferred. Looks like we’ve got a clean image to carve now!
Check transfer
Tip!
While designing a stamp, remember that the image you carve will be a mirror-image of what the stamp actually prints. With pictures this isn’t much of an issue—the picture will be facing left instead of right. No harm done.

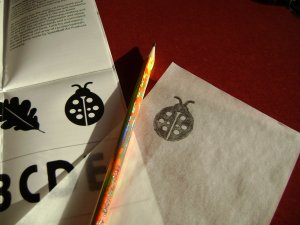
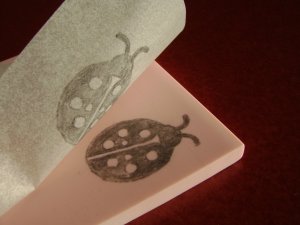
With words, however, the issue can be a serious problem if it’s done the wrong way—the letters will turn out backwards! Fortunately, this process of transferring the image to the stamp will automatically create the desired mirror-image of your original design.
Reserved Text
  1. 0. Carving Menu
  2. 1. Materials
  3. 2. Finding Images
  4. 3. Transfer Image
  5. 4. Carving the Stamp
  6. 5. Mounting
  7. 6. Samples
Other Transfer Tutorials

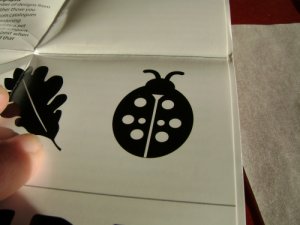
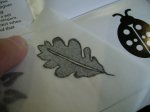
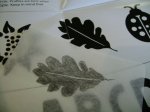
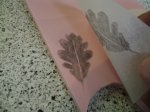
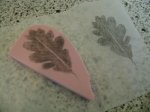
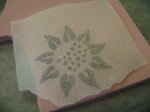
Leaf Transfer Example

Sample Sample Sample Sample Sample Sample Sample Sample Sample

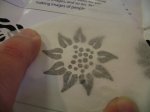
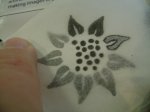
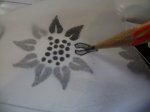
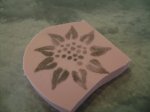
Sun Transfer Example

Sample Sample Sample Sample Sample Sample Sample Sample Sample

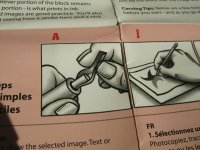
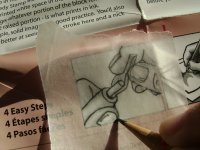
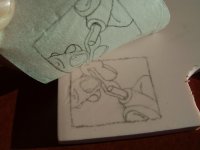
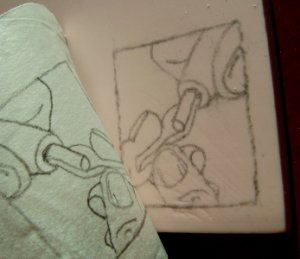
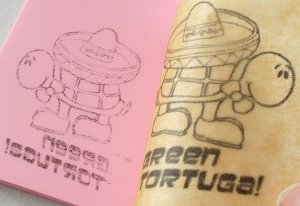
Speedball Tools Transfer Example

I include this example for two reasons. First, it’s considerably more complex than the previous designs—the point being that regardless of how complex a design is, it ultimately boils down to tracing, and the process is exactly the same whether the design is simple or incredibly intricate.

Second, this image did come from the Speedball Carving Kit—however, it was never intended for people to carve! The image was part of a series of illustrations in the instruction booklet explaining how to use the carving tools in the kit. I happened to notice that it was a simple line drawing which is particularly easy to trace and decided to carve it. Keep your eyes open for stuff to carve! Artwork is all around you—including places that you probably wouldn’t think to look or consider. For your first carvings, though, I suggest starting with simpler designs than this one!

Sample Sample Sample Sample Sample Sample Sample Sample Sample Sample Sample
  1. 0. Carving Menu
  2. 1. Materials
  3. 2. Finding Images
  4. 3. Transfer Image
  5. 4. Carving the Stamp
  6. 5. Mounting
  7. 6. Samples