- 0. Carving Menu
- 1. Materials
- 2. Finding Images
- 3. Transfer Image
- 4. Carving the Stamp
- 5. Mounting
- 6. Samples
Stamp Carving 101
Carving the Stamp
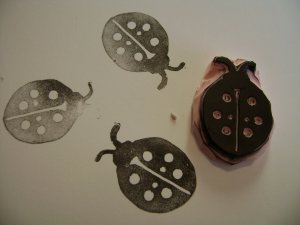
After you have your desired image on your carving block, carving a stamp becomes nothing more than cutting away the parts of the carving medium that you don't need. You have two choices: (1) Carving a negative image or (2) carving a positive image. A negative-stamp image—where you carve away the dark areas of your design—is quicker and easier, but tends to look less professional. The positive-stamp image—where you carve away the light areas from your design—generally is slower and more challenging to carve, but the results tend to look much better. We'll use the positive-stamp carving for this tutorial since we want a slick-looking stamp!
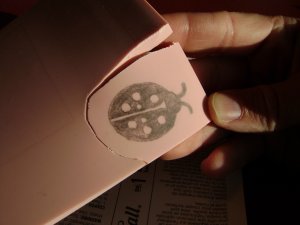

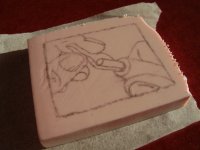
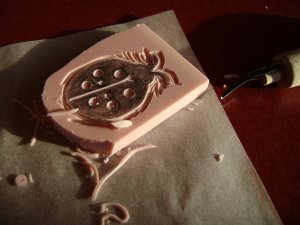
For this positive-space design, we'll carve out all of the areas that don't have pencil transfer. And we'll start with the dots on the back of the ladybug since those are the smallest, most intricate details.
- Carve away from yourself. Not only is it safer, but it's also easier to do!
- Cut a long line with one, long continuous cut to get the cleanest edges.
- Remember—you don't have to cut deeply! For the details we're doing now, you shouldn't be carving more than a fraction of an inch deep. Excessively deep cuts will cause your stamp to deteriorate quicker.
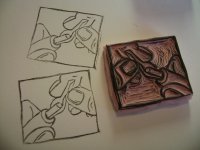
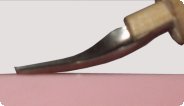
- Cutting at sharp angles (left image) creates ragged edges and poor carvings. Use shallow angles (right image) for clean cuts. You want to 'scoop out' the unneeded pieces—not stab at them!


Letterboxers everywhere will have their own tricks and tips, including the ones listed below. I haven't tried any of these particular suggestions myself, but they might work for you so keep them in mind.
- To see your carved-out areas better, ink the surface of the carving medium with a light-colored ink-pad or highlighter.
- Good lighting makes a huge difference! Some letterboxers even go so far as to use a magnifying glass/light combo that attaches to a table with clamps—both for the good light and the magnification.
- If the carving medium has too much 'give' when you're cutting, you can cool the carving block in your freezer or refrigerator to firm up the surface.
- For especially detailed images, laying your carving block out on a curved surface such as a can will help 'spread' your stamp apart for carving. When released from the can, the cuts shrink to a smaller size.
- Letters can be some of the most challenging things to carve. People know what a letter is supposed to look like, and your brain wants to 'write' a letter rather than carve an image. Consequently, some people find it easier to carve letters when the stamp is upside-down than right-side up! It breaks that brain connection that sees letters and turns them into mere shapes when viewed upside-down.
- When you stamp something, the imagine on the carving block will be a mirror image of the stamped image on a piece of paper. Most of the time, this doesn't matter, but when you want to carve letters, they must be carved backwards on the carving block so the stamp will display them correctly on paper! If you transfer an image to the carving block, it'll create a mirror-image of the stamp on your carving block automatically. If you try to write letters or numbers directly on the carving block, however, they'll all be backwards. That's one reason why it's better to transfer the image you want to carve to a carving block rather than write directly on the carving block.
- 0. Carving Menu
- 1. Materials
- 2. Finding Images
- 3. Transfer Image
- 4. Carving the Stamp
- 5. Mounting
- 6. Samples
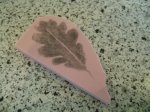
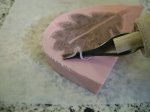
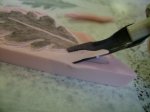
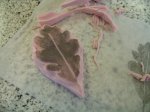
Leaf Carving Example

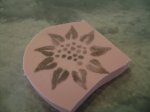
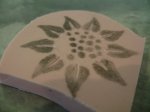
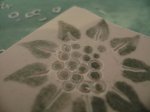
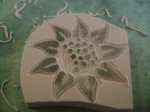
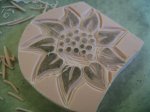
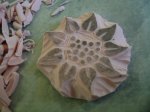
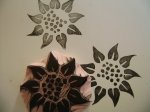
Sun Carving Example
Speedball Tools Transfer Example
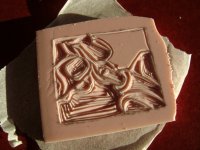
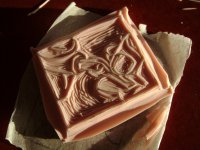
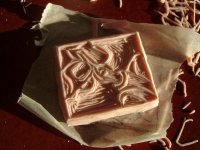
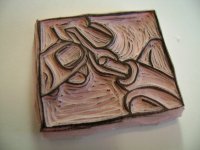
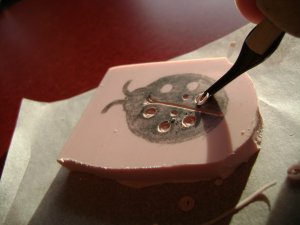
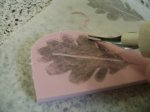
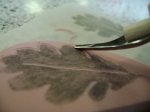
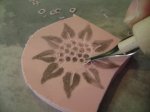
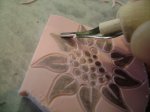
In my excitement while carving this stamp, you'll notice in three of these images that the stamp is actually upsidedown. This happens with all my carvings, but I thoughtfully put the stamps right-side up before taking the photos for this tutorial to make the changes in each successive photo more obvious. In this case, I plain forgot to!
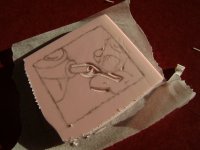
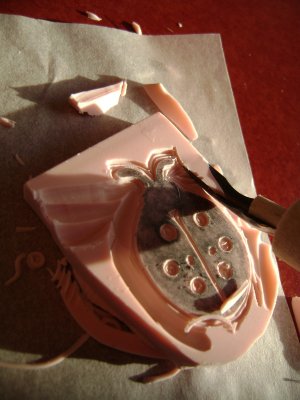
While carving, you'll turn your stamp in whatever direction that will put you in the most comfortable cutting position, and you'll turn the stamp in all sorts of directions to do this. That's why I put a piece of tracing paper under the stamp—to make the stamp turn easier. That photo where I'm trimming off the excess material from the edges (the only one with a carving tool in the photo)—I'm right handed, which makes cutting off the left side of the stamp difficult. So I turned the stamp upsidedown and made it the right side! Much easier for me to cut this way.
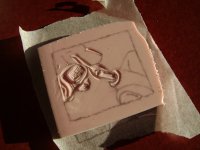
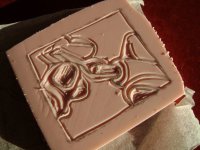
Even though this design is considerably more complex than the others, it's still just tracing. First I carved out the small, detailed areas. Then I outlined the larger areas. And finally carved out the large areas before trimming the edges and testing the stamp.